A convenient and spacious toolbox is the dream of almost any craftsman. Neatly organized tools that are always at hand and in perfect order are almost a guarantee of pleasant and efficient work. Moreover, a convenient toolbox can be made from almost anything you have in your arsenal.
How to make a portable toolbox from a plastic canister:
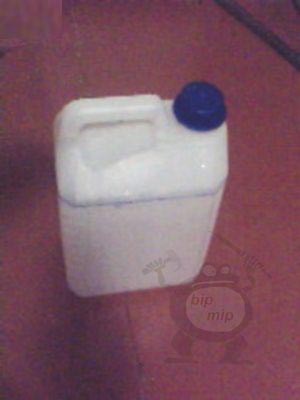
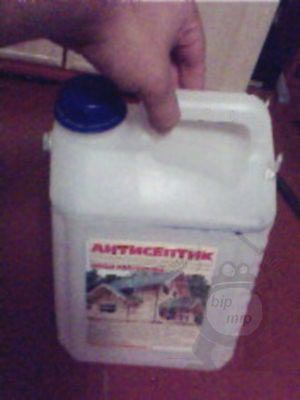
Of course, nowadays there are many different types of plastic products available, including specialized toolboxes. They are convenient, lightweight, ergonomic, and some are even waterproof. However, not everyone can afford such a luxury, so improvisation becomes necessary. A toolbox, or whatever you want to call it, can be made from a five-liter bucket, canister, or a large container. You will also need hinges, which can be purchased, or you can simply sew a piece of leather or strong fabric, or do as I did — use ordinary clothesline.
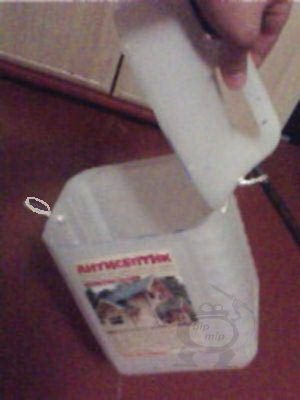
The first step is to mark the template by drawing a line with a marker or pencil, indicating where you need to cut off the top of the canister.
Next, in the obtained top lid, you should make one hole in the front and two holes at the back. I used a heated drill bit and melted the holes, as it is easier and prevents the plastic from cracking. If you choose to drill the holes, be cautious as it may cause the plastic to tear. Screw a small bolt into the front hole, which will serve as a kind of fastener.


In the same exact manner, you need to make corresponding holes on the bottom part of the canister, mirroring the ones on the top lid


The further steps are simple and straightforward. You just take a clothesline and thread it through the holes, then tie secure knots. In the front hole of the bottom part, insert a loop and tie a knot — this knot will act as a fastener.

In a similar manner, we need to create an improvised ‘door’ hinge that will connect both parts of the toolbox, the lid, and the bottom of the box.


This entire structure works very simply. The knots and loop prevent the toolbox from opening when you lift it by the handle of the canister, even when it is carrying the weight of tools.
In this way, I have created a lightweight, practical, and spacious toolbox for tools, which can be easily adapted for various purposes. Moreover, if needed, it can be used to carry water, sand, or construction debris. Thanks to this transformation, a simple canister has become a versatile container.