A dollhouse, a snail, a toy car, a transformer, a piece of paper with a smiley face drawn on it, boogers from the nose… anyone can make them out of cardboard and inspiration. Even if your hands are clumsy, your nails are long and unevenly bitten, and your hair gets tangled in everything. After reading this article, you will be convinced that spending quality time with your child and creating an interesting toy in the end is the sacred essence of a pleasant life, providing both you and your child with the guaranteed bonus of acquiring a good mood and developing fine motor skills.
Why pay more?!
No no NOOO! – I’m not encouraging you to skimp on your children, although, if we reason logically, it’s much simpler to just buy a dollhouse! – It could turn out to be much cheaper than purchasing: scissors, A4 paper, cardboard, glue, colored markers, acrylic paints, foam sheets, a glue gun and sticks (also adhesive), colored paper, tape, quilling strips, rhinestones (although diamonds excavated from your jewelry would look more festive), and taking a day off work to rush around buying all of that and bringing it home…
But fortunately, as you will see later, I already had all of this available, so my child and I decided not to spend money on a piece of plastic but instead create a luxurious house for our doll (named Sandy) entirely by ourselves.
Making a cardboard dollhouse with our own hands:
So, let’s talk about what we’ll need to create the dollhouse.
The main materials for this project are cardboard and tape, and we’ll naturally outline everything with markers. You can use a large or small cardboard box as the base, or you can cut it up and attempt to make the house from the cardboard panels or separate sheets of cardboard—whichever works best for you. Use whatever you have on hand. However, at the very least, you’ll need: a cardboard box/cardboard, scissors, tape, and markers.
Now, gathering everything together, mustering all your willpower, and giving in to your creative impulse, with your little mischief-maker by your side. Take a small box, approximately like the one shown in Figure 1 (or any similar one you have).

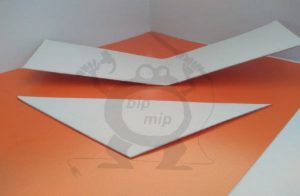
We will still need additional cardboard for the roof details. Measure and cut them approximately by eye. Figure 2 shows an example of the roof details.
Use tape to assemble the pieces, and we’ll have a complete roof for our dollhouse. Figure 3 shows an approximate representation of how the roof will look.
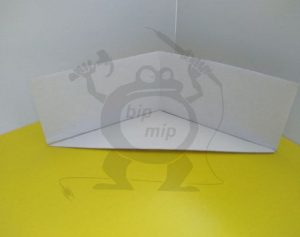
Using tape, attach the roof to the top surface of the box, forming the structure of the dollhouse. At this stage, we have an almost complete dollhouse, as your little mischief-maker usually wants to play with it or simply loses interest in high architectural art.
Figures 4 and 5, although not something to be proud of, show the dollhouse in its open and closed states.
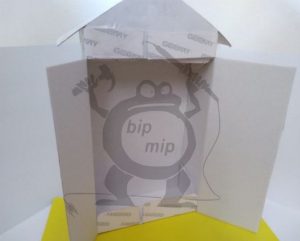
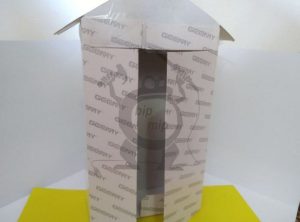
Afterwards, you need to, as we have already done, cut out a small rectangle from cardboard that will divide the box into two parts. This simple maneuver will create floors and make the craft more interesting and spacious. Glue the cardboard piece we obtained into our cardboard base, and in Figure 6, we can already see the dollhouse with two floors.
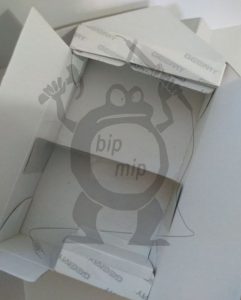
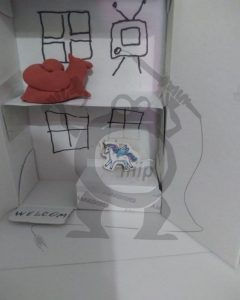
Next, to add realism to the structure, we take a marker and draw windows, doors, and some everyday items for the snail named Sandy.
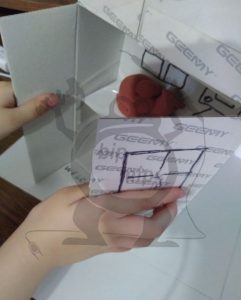
However, you can also cut out windows and create furniture separately from cardboard. In this way, in Figures 7 and 8, we can already observe the completed small dollhouse for the doll (snail). You can also add a chimney (if desired by the child).
P.S.: Of course, this creation may not withstand criticism from the perspective of always being able to make it cooler, more beautiful, paper mache-covered, or adorned with Swarovski diamond inlays. But that’s only if you’re a perfectionist and an adult. If you’re a child, the most important thing for you is likely to… simply… spend a fun time together with Mom and Dad. Treasure those precious moments in life and visit our website more often, where we’ll come up with all sorts of fun ideas… 😉

